The Arduino Starter Kit - 02 Starship Interface
Continuing with the Arduino Starter Kit series, the second project - Spaceship Interface - is the first project to include code next to the actual circuit:
// Create a global variable to hold the
// state of the switch. This variable is persistent
// throughout the program. Whenever you refer to
// switchState, you’re talking about the number it holds
int switchstate = 0;
void setup() {
// declare the LED pins as outputs
pinMode(3, OUTPUT);
pinMode(4, OUTPUT);
pinMode(5, OUTPUT);
// declare the switch pin as an input
pinMode(2, INPUT);
}
void loop() {
// read the value of the switch
// digitalRead() checks to see if there is voltage
// on the pin or not
switchstate = digitalRead(2);
// if the button is not pressed
// turn on the green LED and off the red LEDs
if (switchstate == LOW) {
digitalWrite(3, HIGH); // turn the green LED on pin 3 on
digitalWrite(4, LOW); // turn the red LED on pin 4 off
digitalWrite(5, LOW); // turn the red LED on pin 5 off
}
// this else is part of the above if() statement.
// if the switch is not LOW (the button is pressed)
// turn off the green LED and blink alternatively the red LEDs
else {
digitalWrite(3, LOW); // turn the green LED on pin 3 off
digitalWrite(4, LOW); // turn the red LED on pin 4 off
digitalWrite(5, HIGH); // turn the red LED on pin 5 on
// wait for a quarter second before changing the light
delay(250);
digitalWrite(4, HIGH); // turn the red LED on pin 4 on
digitalWrite(5, LOW); // turn the red LED on pin 5 off
// wait for a quarter second before changing the light
delay(250);
}
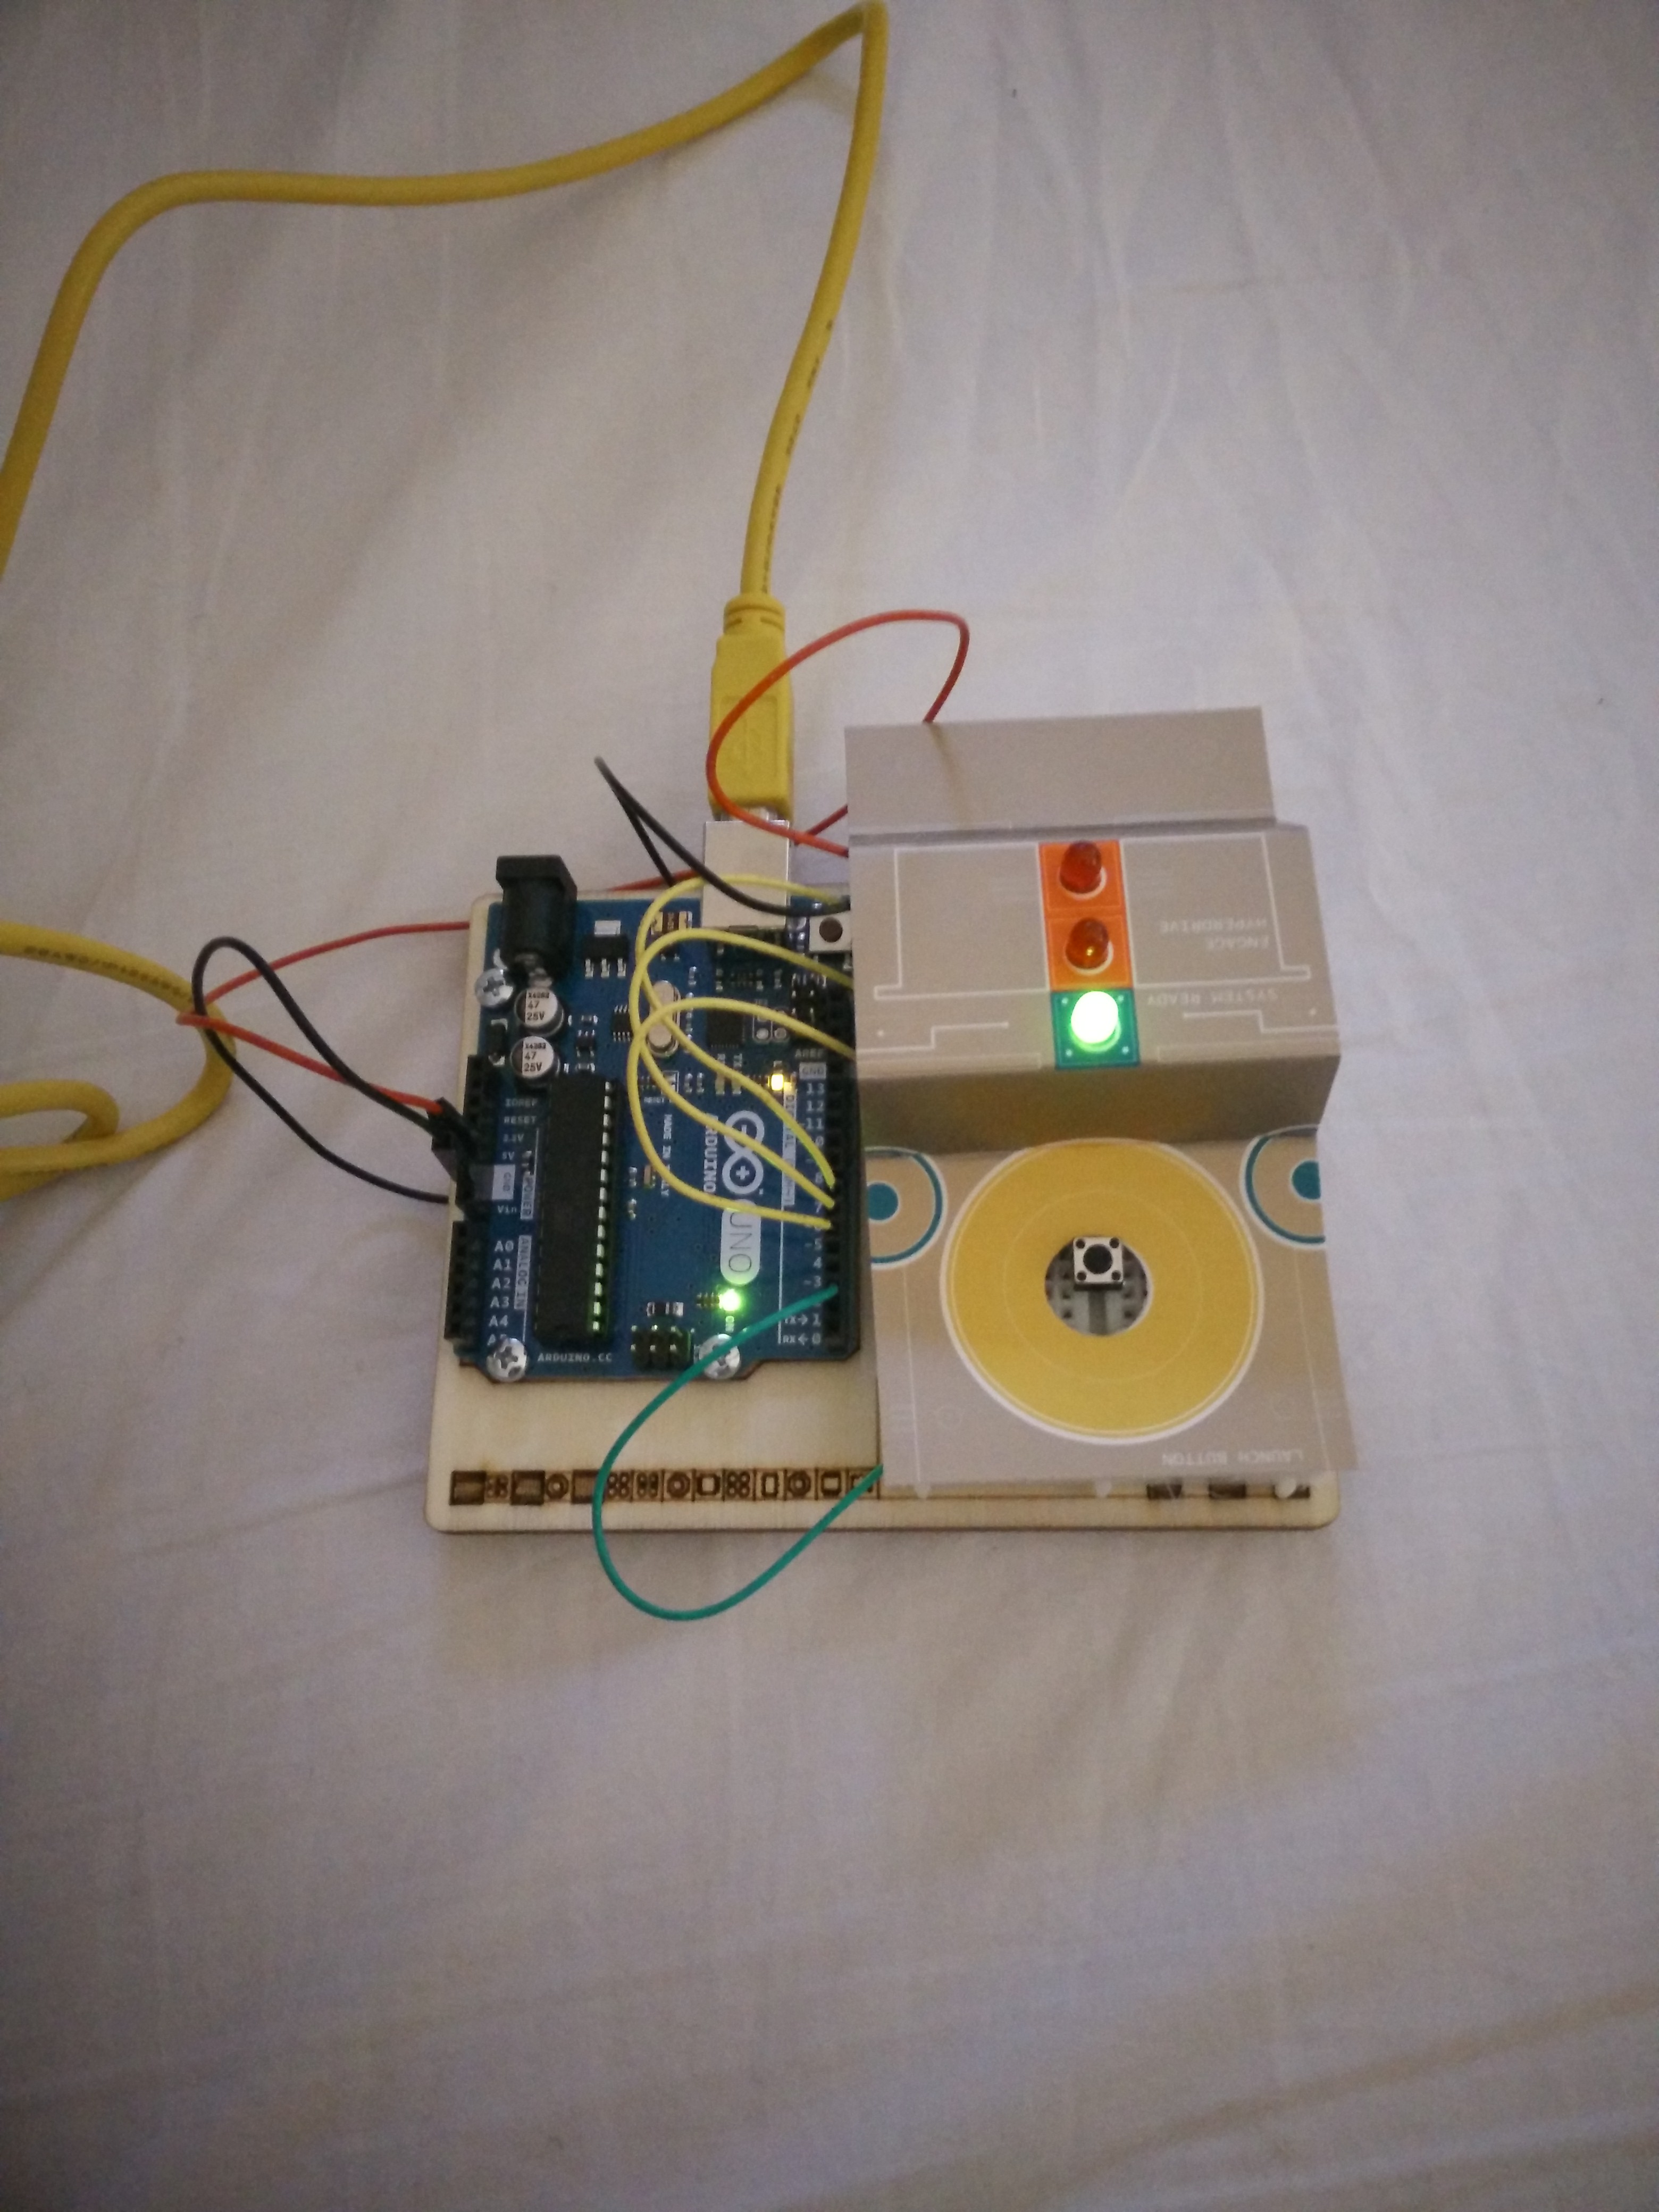
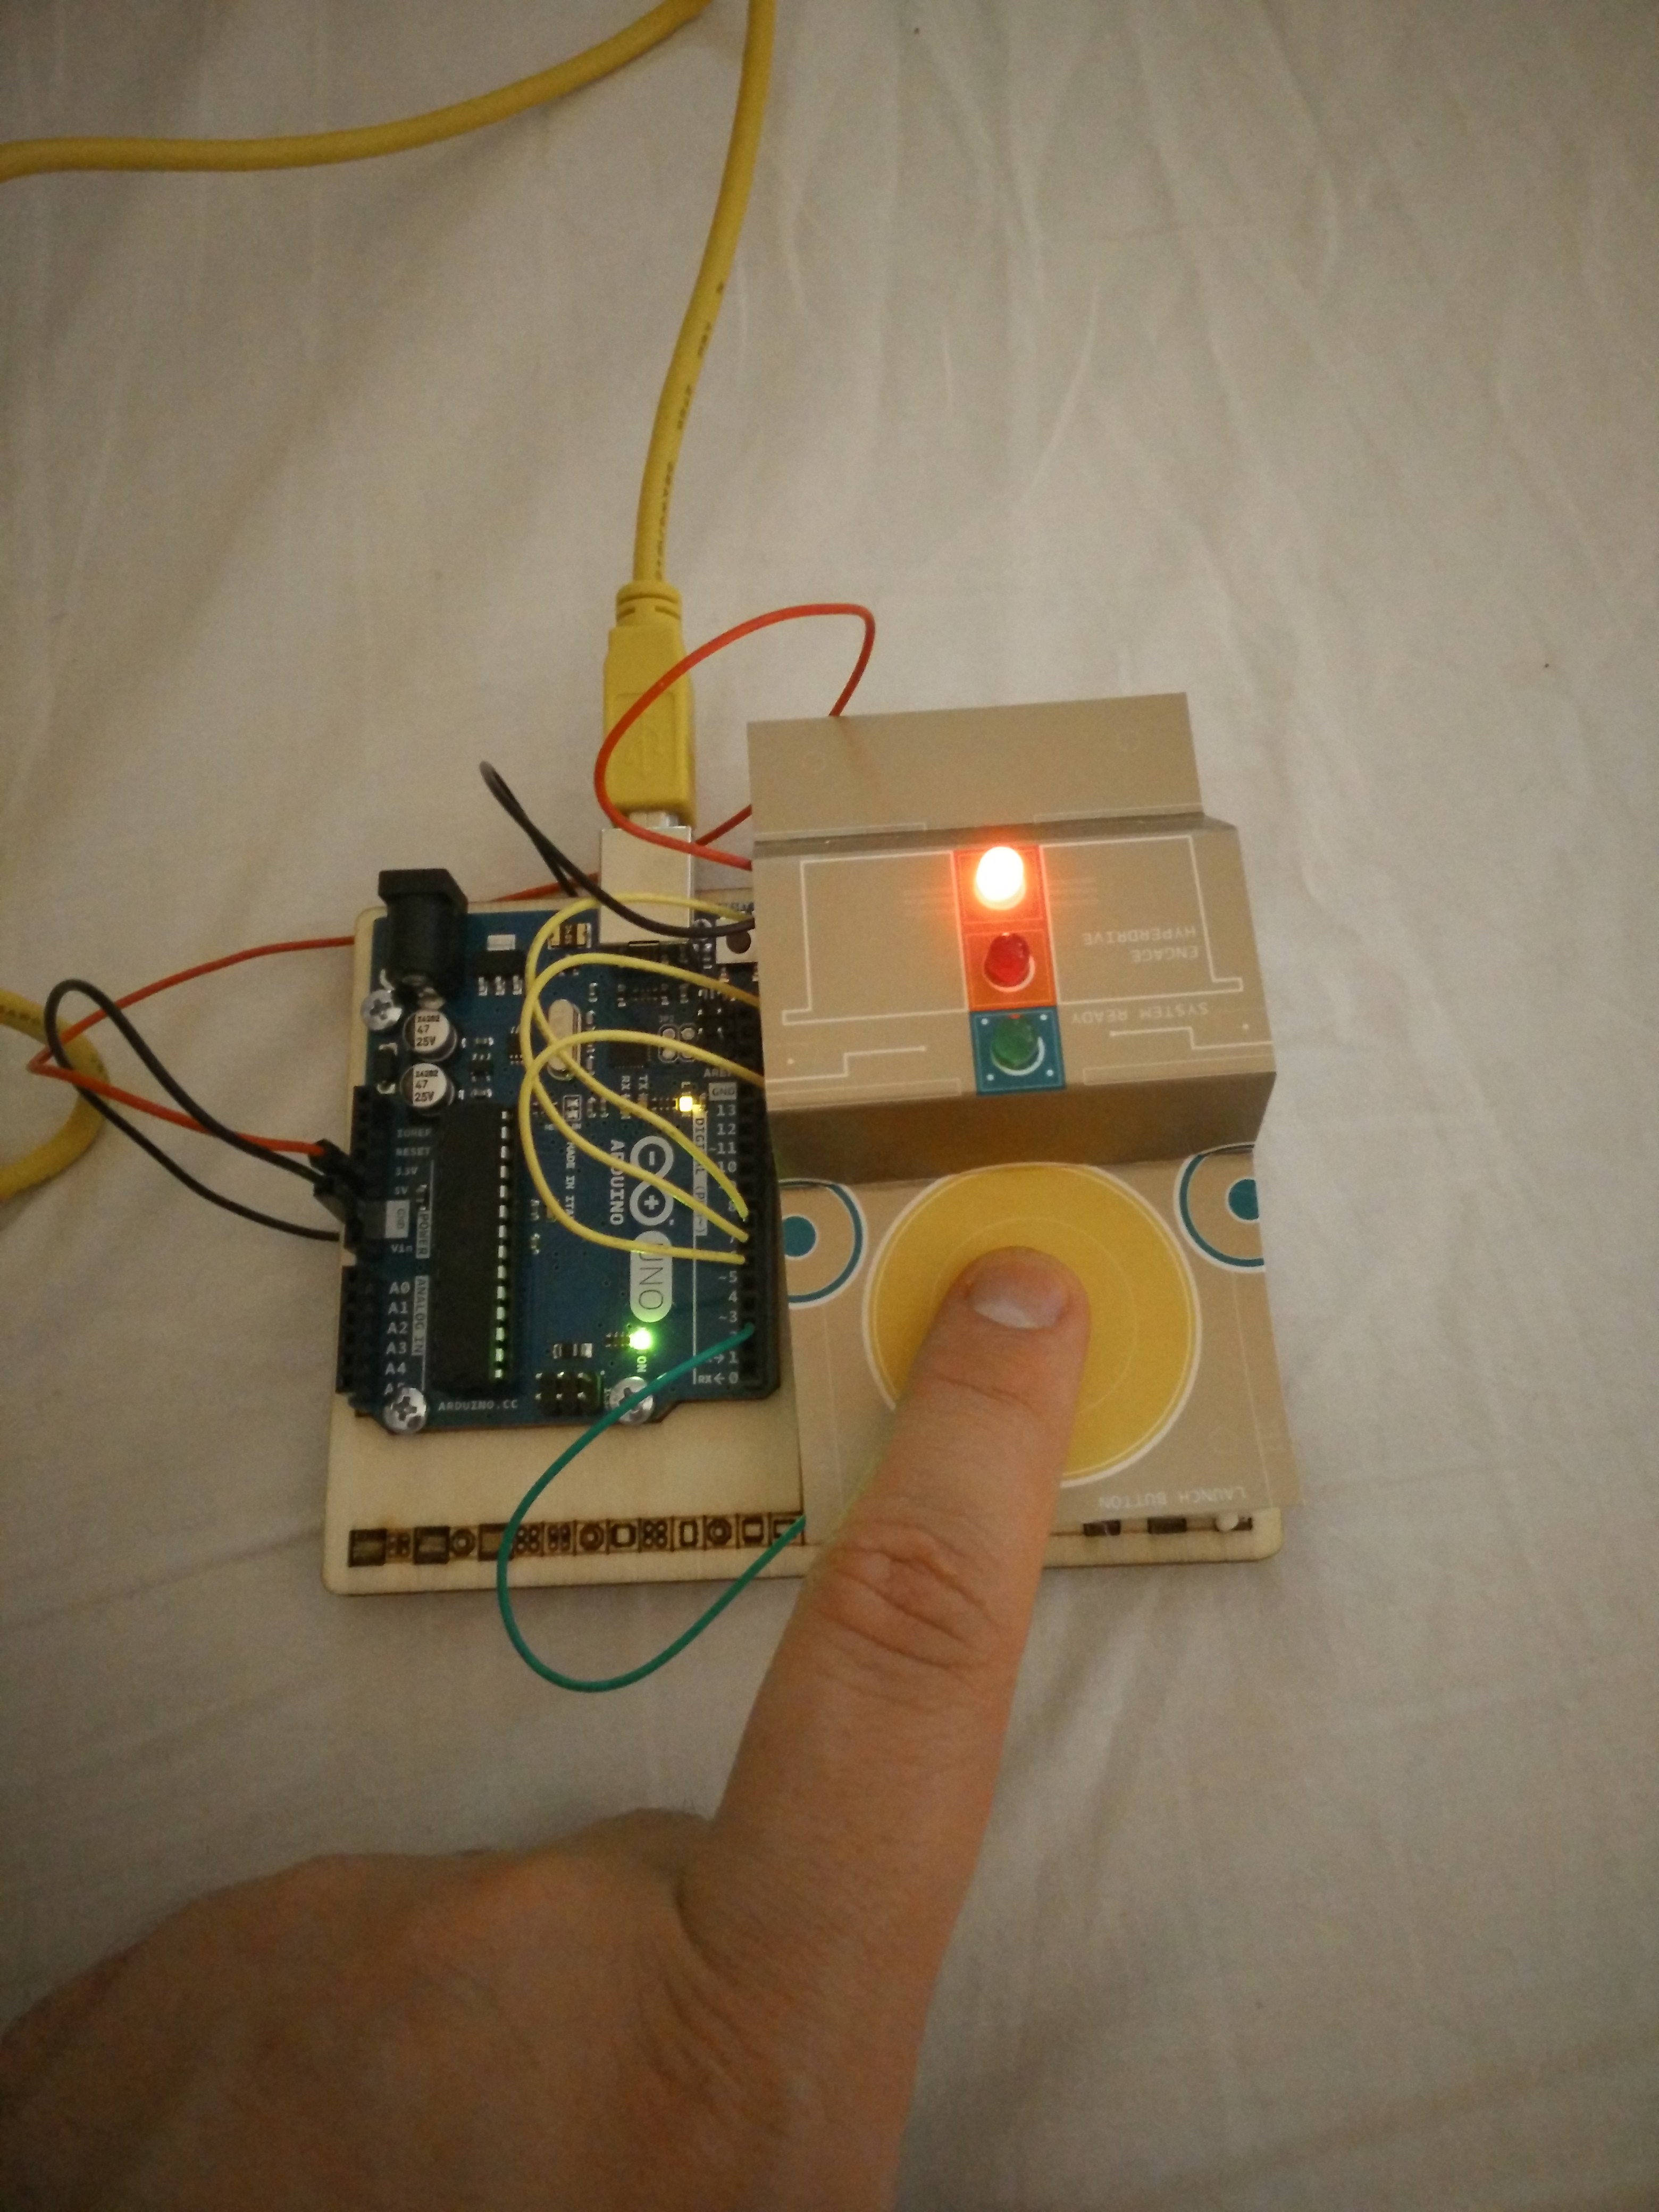
}The program is uploaded onto the Arduino Uno board making two red LEDs alternatively turn on and off while a push button is kept pressed. Initially, when this switch is not pushed, there’s a third green LED that is on. When the swith is pushed the green LED turns off. At the same time the two other red LEDs start switching on and off every quarter of a second - simulating a spaceship command panel (just like at the board of the Star Trek Enterprise). There is also a paper cover to use in order to hide the circuit and make the board look closer to a spaceship console.
Three covered LEDs while the push button is switched off
Three covered LEDs while the push button is kept switched on
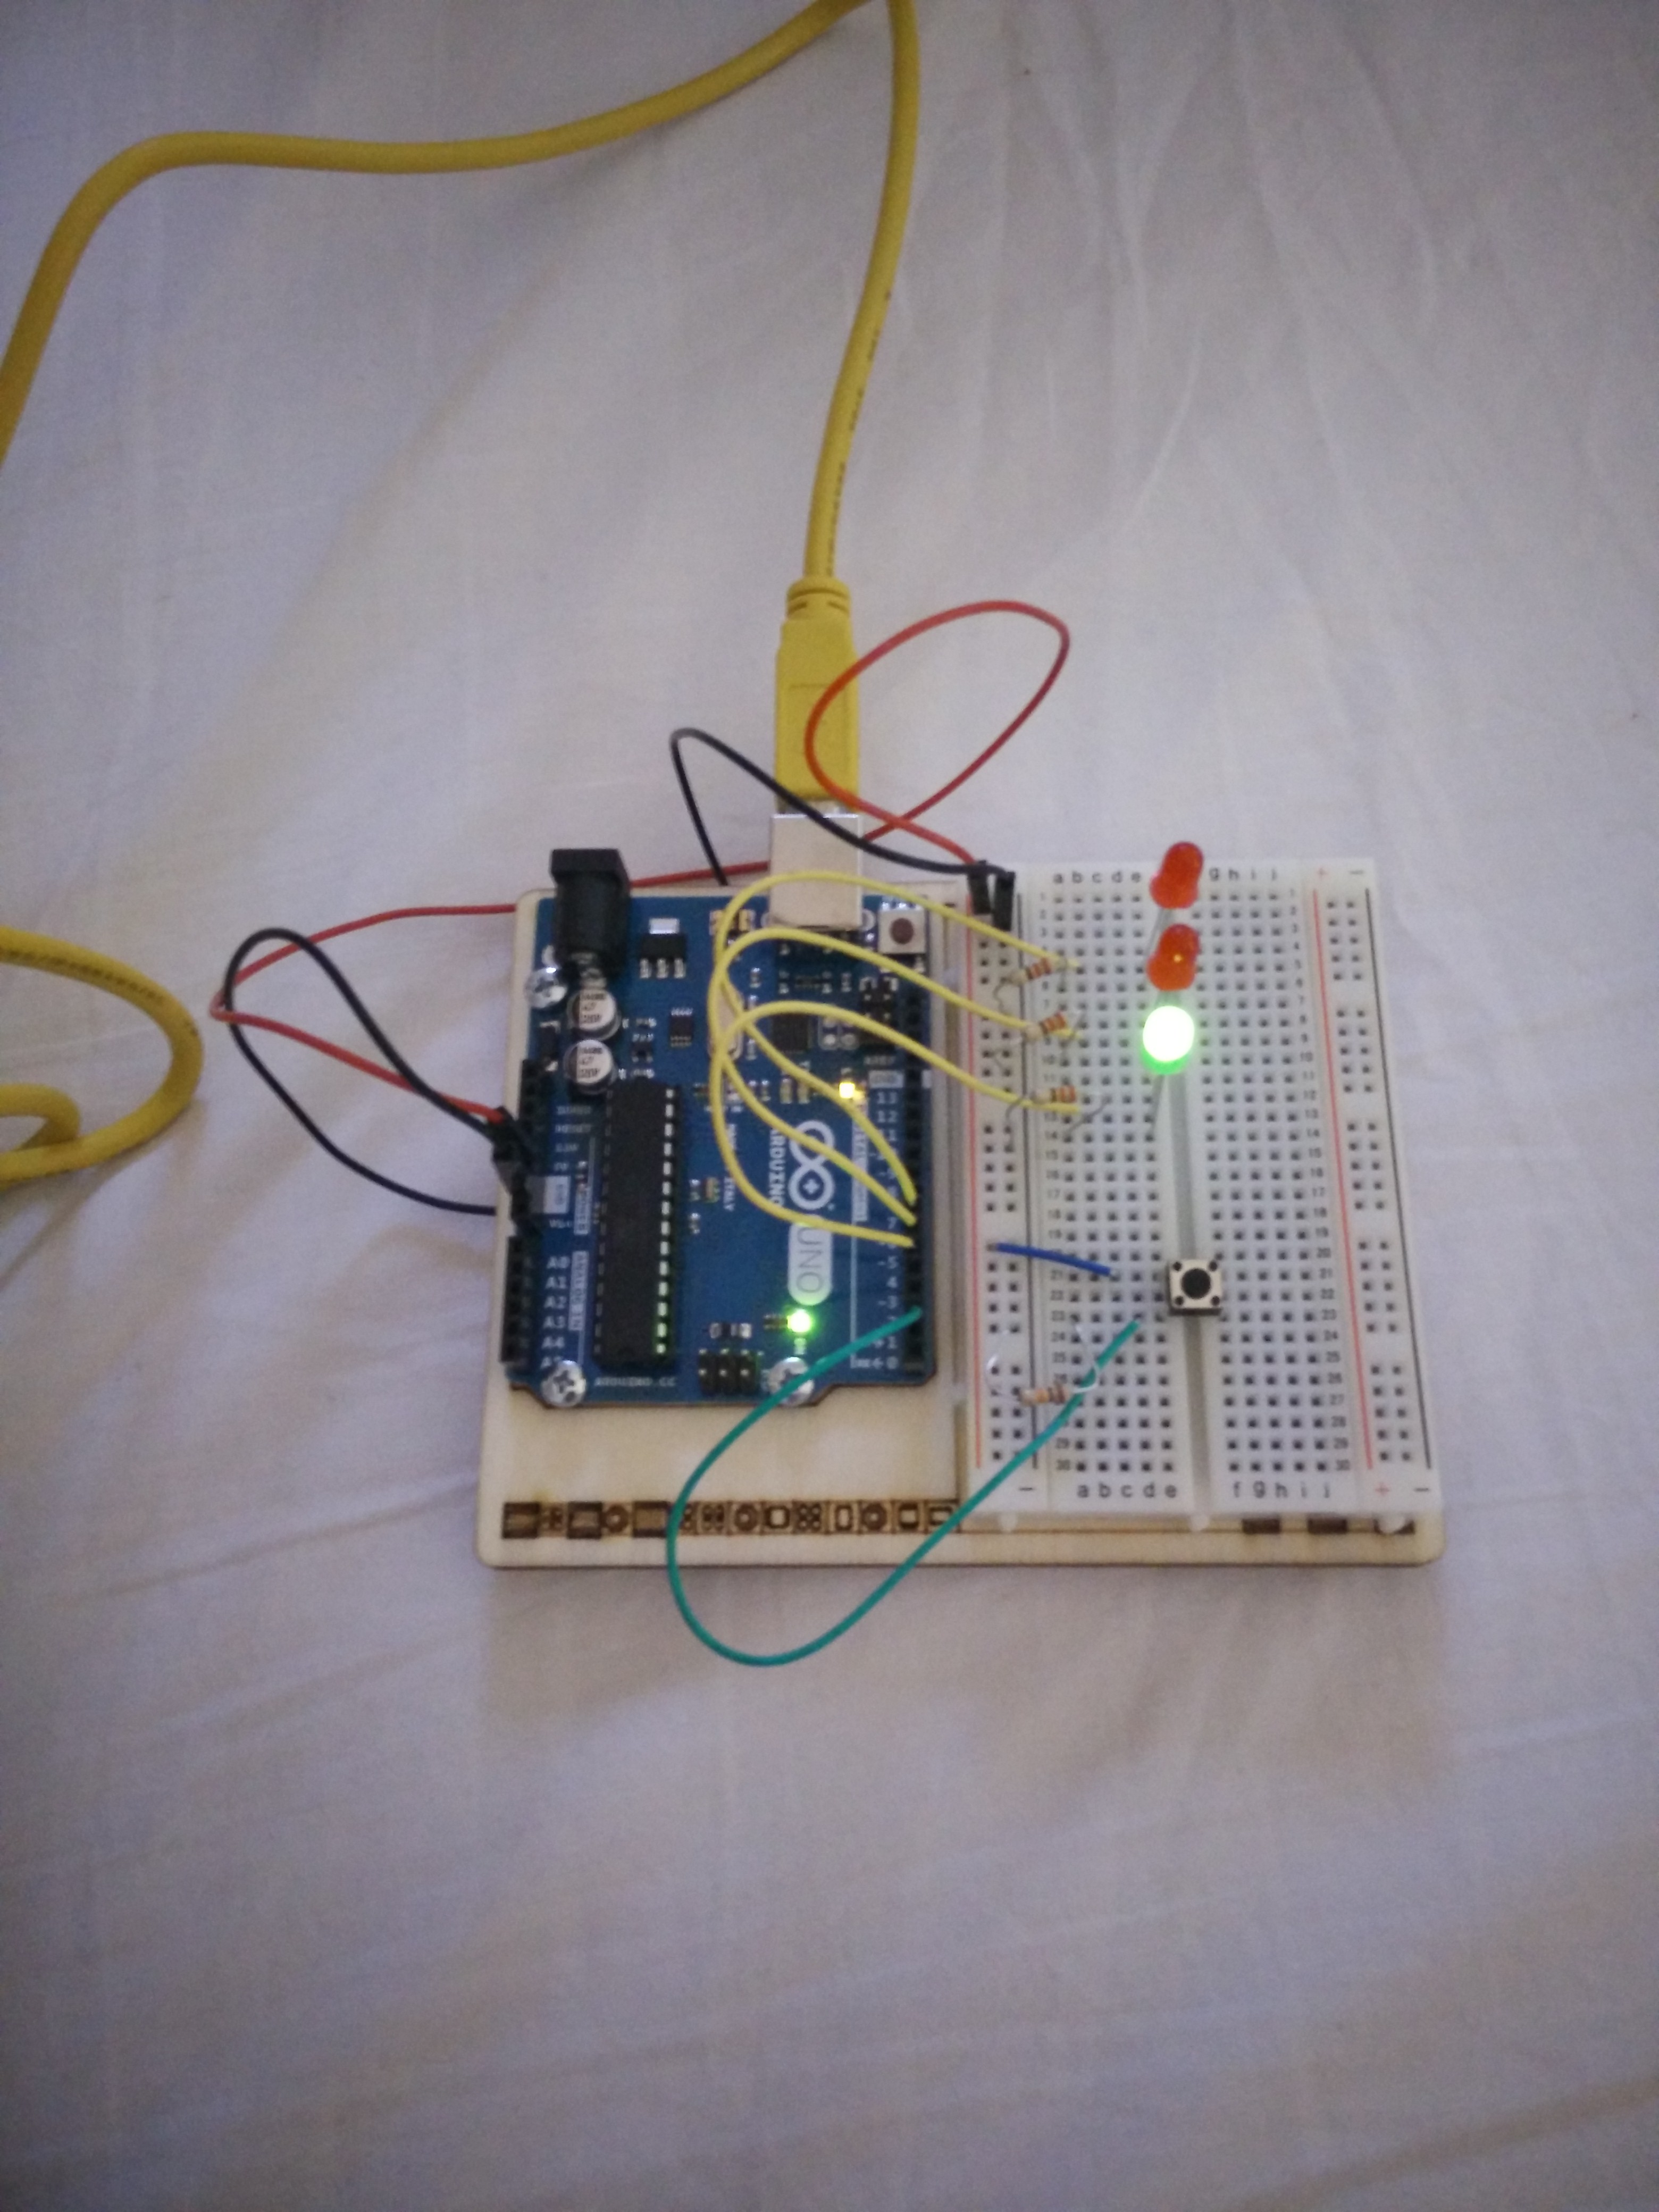
Three LEDs with no cover
Four LEDs with no cover while the push button is switched off
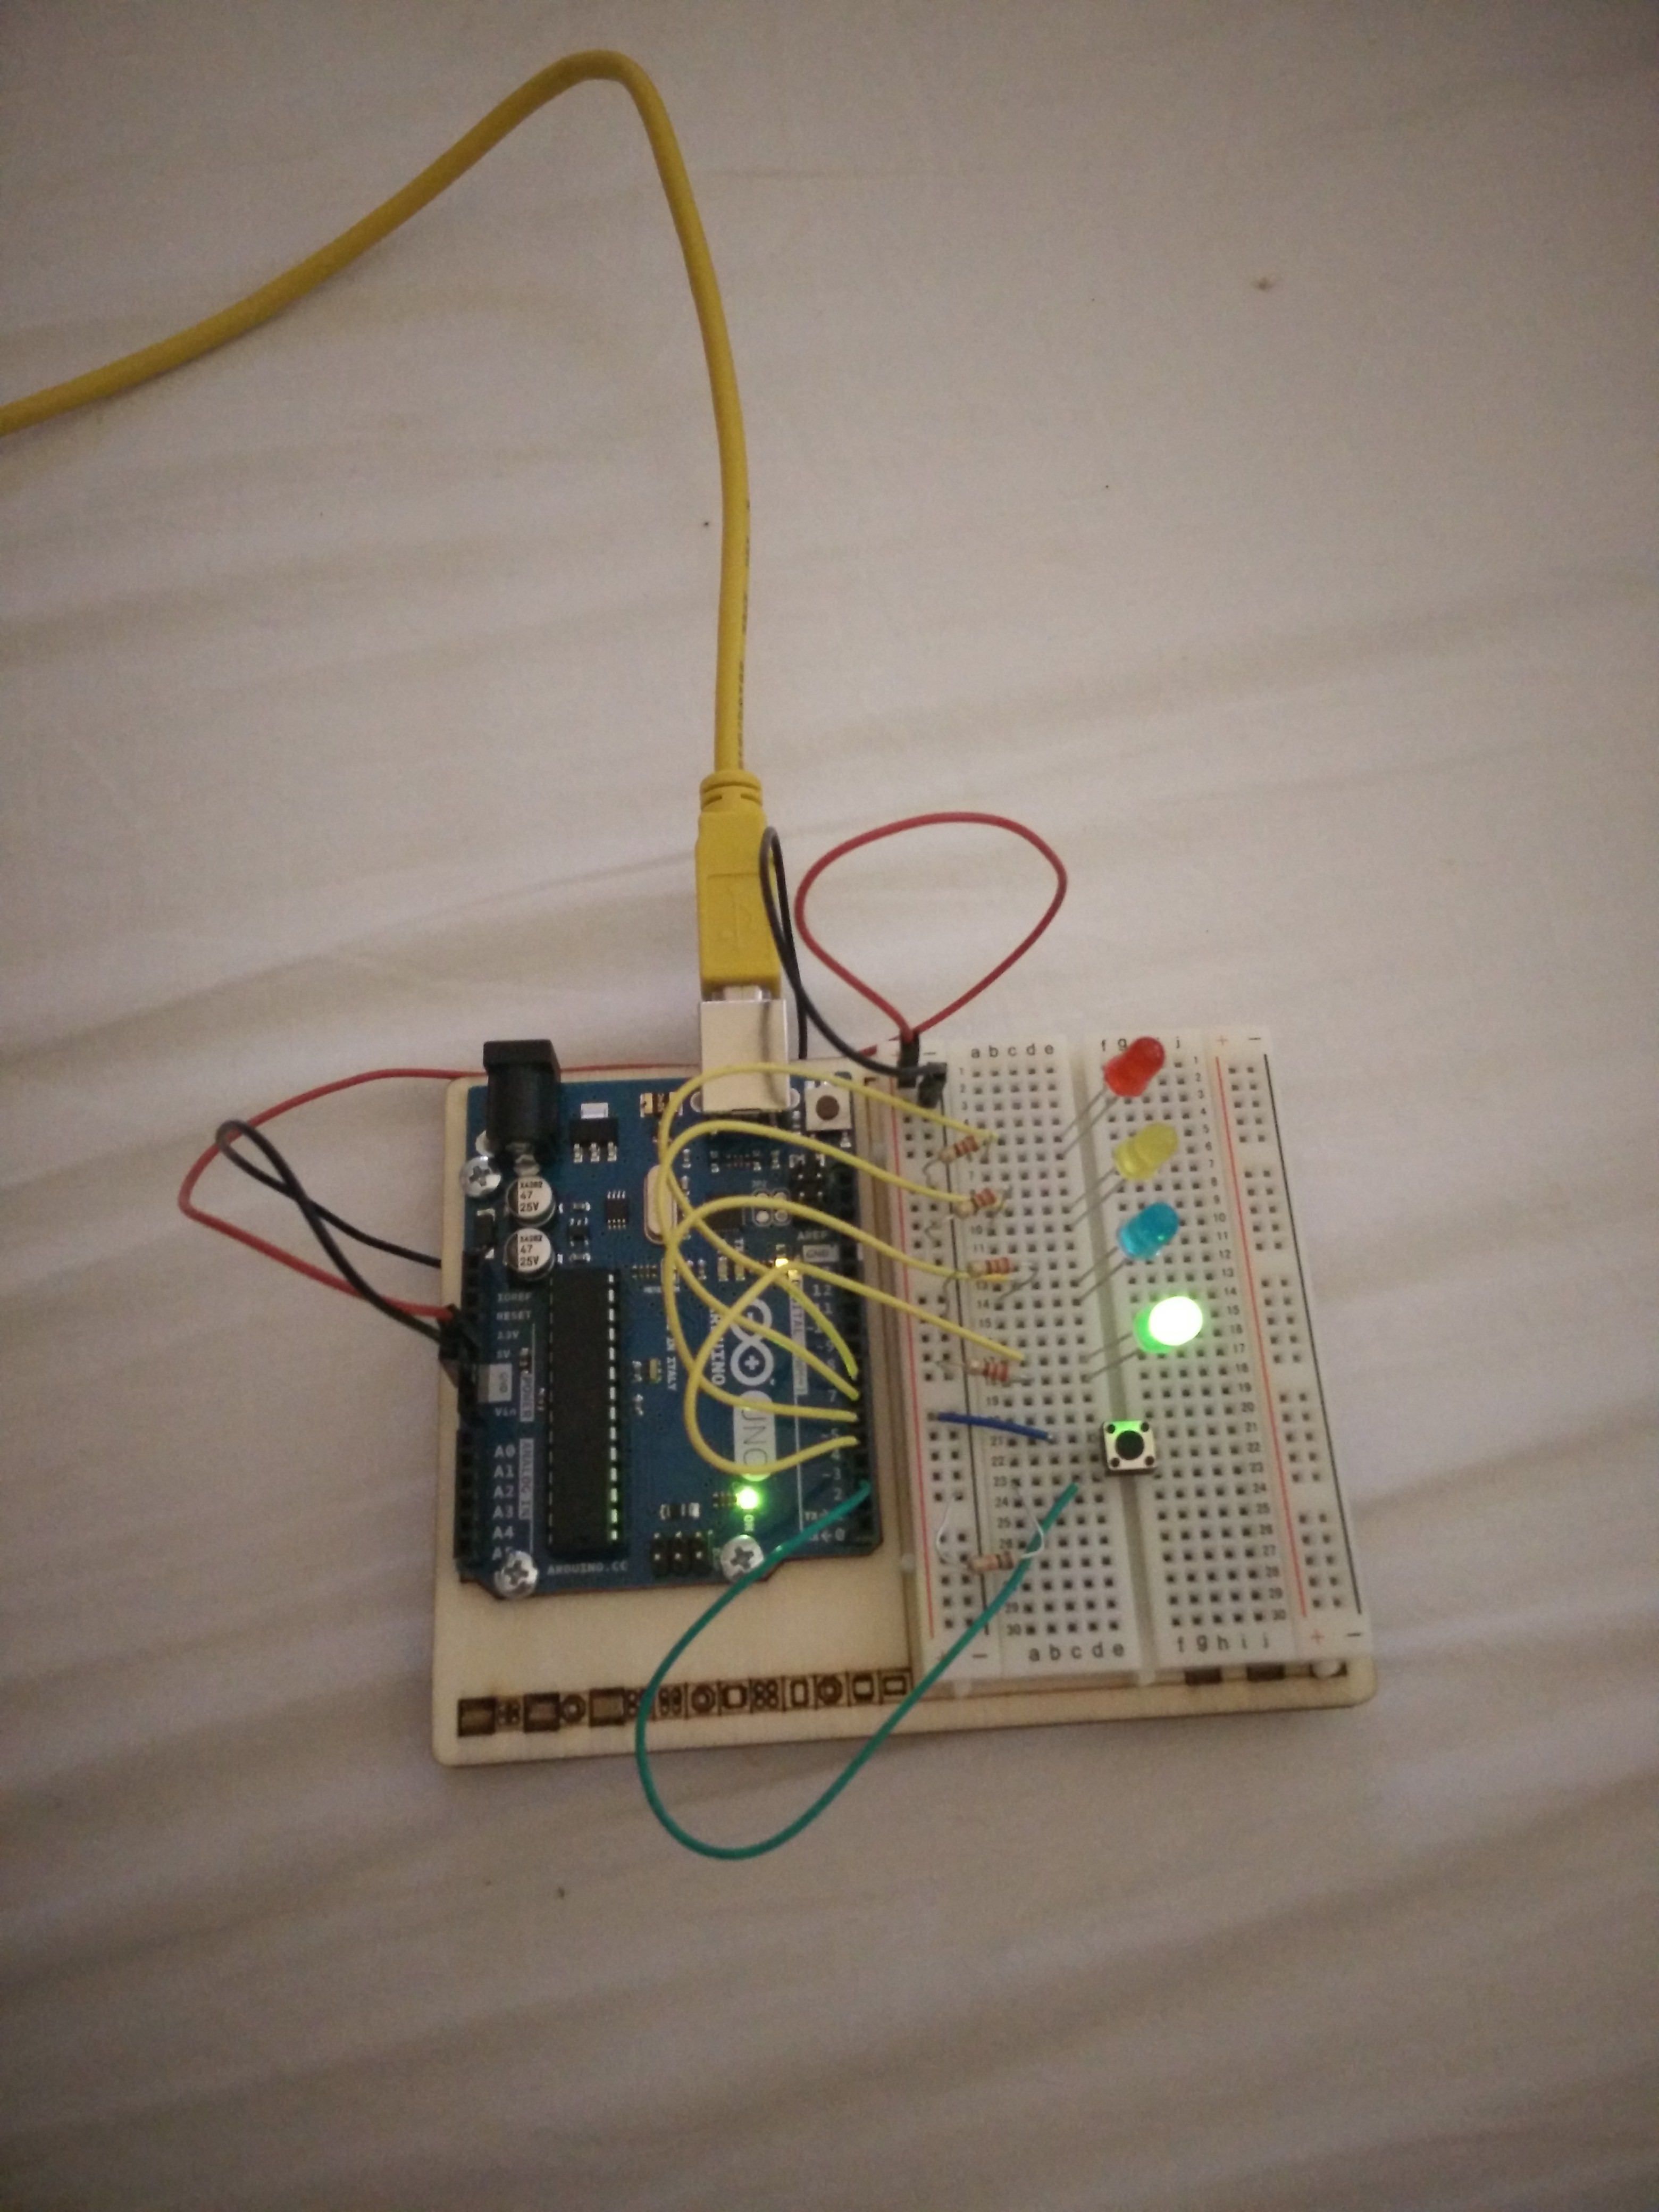
Four LEDs with no cover while the push button is kept switched on
Posted in Programming and tagged with Arduino, Arduino Starter-Kit.